The CPU (Central Processing Unit) is the brain of your PC. It's a complex and powerful piece of hardware, designed to execute the huge number of calculations each second that help power the modern PC experience.
The computing speed of a processor is heavily impacted by its operating frequency clock, also known as CPU clock frequency, CPU frequency, or clock speed. The higher this frequency, the faster your processor can undertake the high volume of calculations your system requires to properly operate.
Overclocking your CPU is a great way to extract even more performance from your hardware. The process might seem complex, but the fundamentals of how to overclock are actually pretty straightforward. We're going to cover the basics of what overclocking is, how it works, and a few ways you can safely do it yourself.
In order to overclock a processor, the overclocker intentionally increases the CPU operation frequency above the original stock specifications. Because the processor's frequency heavily impacts the effective computational speed of the CPU, the ultimate goal is to increase the frequency of the CPU in order to achieve faster performance.
In order to increase the CPU frequency during an overclock, we will systematically adding 100 MHz to our processor's frequency at a time, then testing for success and stability. We will then continue that process until we reach the limits of what is possible with the hardware. In addition to adjusting frequencies, the overclocking process might require that you raise select voltages, and adjust other performance settings on the system to maintain stability at high frequencies.
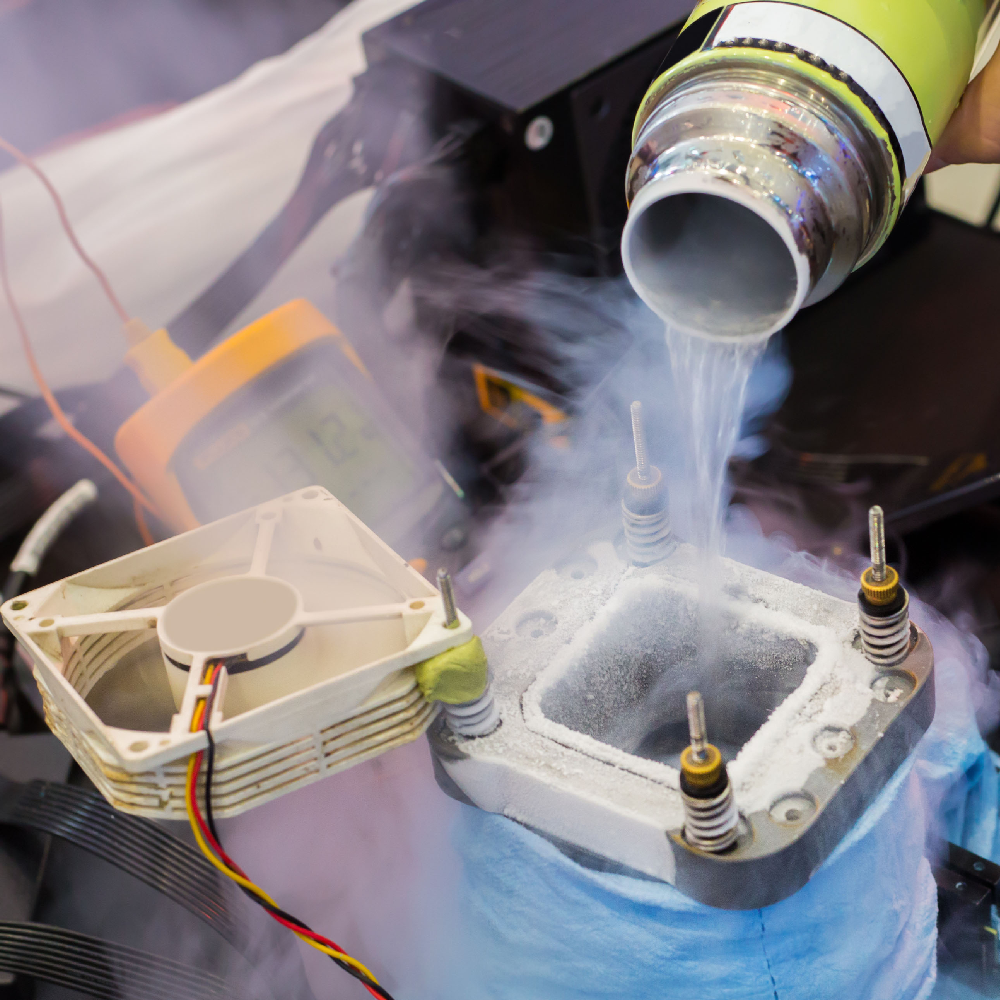
It's important that you use an adequate cooling solution when attempting to overclock your CPU. Higher speeds and voltages mean more heat generated by the CPU, and that means a more efficient cooling solution is required for the CPU to safely operate. A capable CPU cooler is critical when attempting to overclock.
You will also need an unlocked CPU, which designates that the frequency multipliers on the unit aren't locked and thus allow for overclocking.
You will also need a motherboard whose chipset has built-in support for overclocking and other features that can further enhance the experience.
The first step is to measure the current performance of your system at stock (default) settings. It's important to do this before making any changes. This will allow you to easily identify any issues and track any changes in performance.
In order to establish a baseline, you'll want to use benchmarking software. These software tools estimate the effective computing performance of your system and allow you to track any improvements. Other tools will help monitor vital metrics such as CPU clock frequency, voltage, and temperatures at various stages of the process.
The idea behind this initial system benchmark is to verify that everything is working properly in a pre-overclock state, and to establish a baseline to quantify the performance impact of overclocking. This will provide insight into the system performance and the efficacy of your cooling solution.
Now that you've got a baseline, it's time to start actually overclocking. Here, a gradual approach is recommended. You'll want to make small changes, then test before proceeding. This will allow you to quickly rectify any issues you might encounter, as you'll easily be able to identify the change that caused the problem.
If you want a greater level of control over performance and settings, you can also overclock your CPU from your PC's BIOS, though this is recommended for more advanced users. Because BIOS and hardware configurations vary, the step-by-step process might be a little different depending on your system.
After you've made changes to your system settings, applied the settings, and restarted your system, you'll encounter one of two situations:
- Your system is stable, and you'd like to continue overclocking for better performance. If so, repeat the process of increasing the CPU multiplier. Apply the new settings and then restart the system.
- Your system isn't stable, meaning that it crashes or freezes when restarting.
If your system isn't stable, you have a few options. The first is to raise your Vcore to compensate for the increased frequency, which can help with stability.
When raising CPU core voltage, keep in mind that any additional power running through the CPU will impact its heat output. It's important to find the lowest stable voltage in all situations, so only increase your voltage incrementally, by: +0.05V at a time, then apply and test until you find a combination of settings that works.
Another option is to lower the frequency by reducing the multiplier value until your system is stable. This might be your only option if you've reached a voltage/temperature limit.
Overclocking is an iterative process. If this is the first attempt, the gain in performance might not yet reach your goal. This is normal. With each successive performance tweak, you will gradually move closer to your performance objectives.
Once you've run your benchmark again and compared scores, you can either move on to ensuring stability or continue to modify settings in order to improve performance.
Modern PC hardware is usually designed with safeguards to protect the system from potential damage due to power fluctuations or excess voltage.
When overclocking, you may encounter these integrated defenses, many of which originate from the power supply of the system. You may be able to disable or modify the parameters of these safeguards, but this is not recommended unless you are very confident in how to proceed, as you could potentially damage the hardware.
Here's a quick overview of some of the safeguards you might encounter:
-
Over Temperature Protection (OTP)
This safeguard limits the CPU temperature to a pre-established maximum. If the system temperature is too high, your PC will automatically throttle the CPU (reduce its frequency) to bring temperatures back to safe levels. This will result in a drop in CPU performance. If this thermal throttling still isn't enough to sufficiently reduce temperatures, the system will automatically shut down.
-
Over Power Protection (OPP)
Motherboards are designed to sustain a certain level of power throughput. If your CPU's power consumption is too high, your system will activate this safeguard. Similar to OTP, this will reduce your system clock in an effort to reduce temperatures, and eventually shut down the system if it is not successful.
-
Overcurrent Protection (OCP)
This is another safeguard present in all PCs. Current increases inside your CPU as voltage and frequencies go up. With certain motherboards, there is an option to change this value.
-
Over Voltage Protection (OVP)
This activates when the CPU input voltage is too high.
-
Under Voltage Protection (UVP)
This is the functional opposite of OVP. Here, your system will shut down if the CPU voltage is too low.
-
Short Circuit Protection (SCP)
This activates when the motherboard detects a short. There's rarely a reason to deactivate this safeguard.
Excerpt from ©Intel ~ Images from ©CGIDirector, ©Dreamstime


